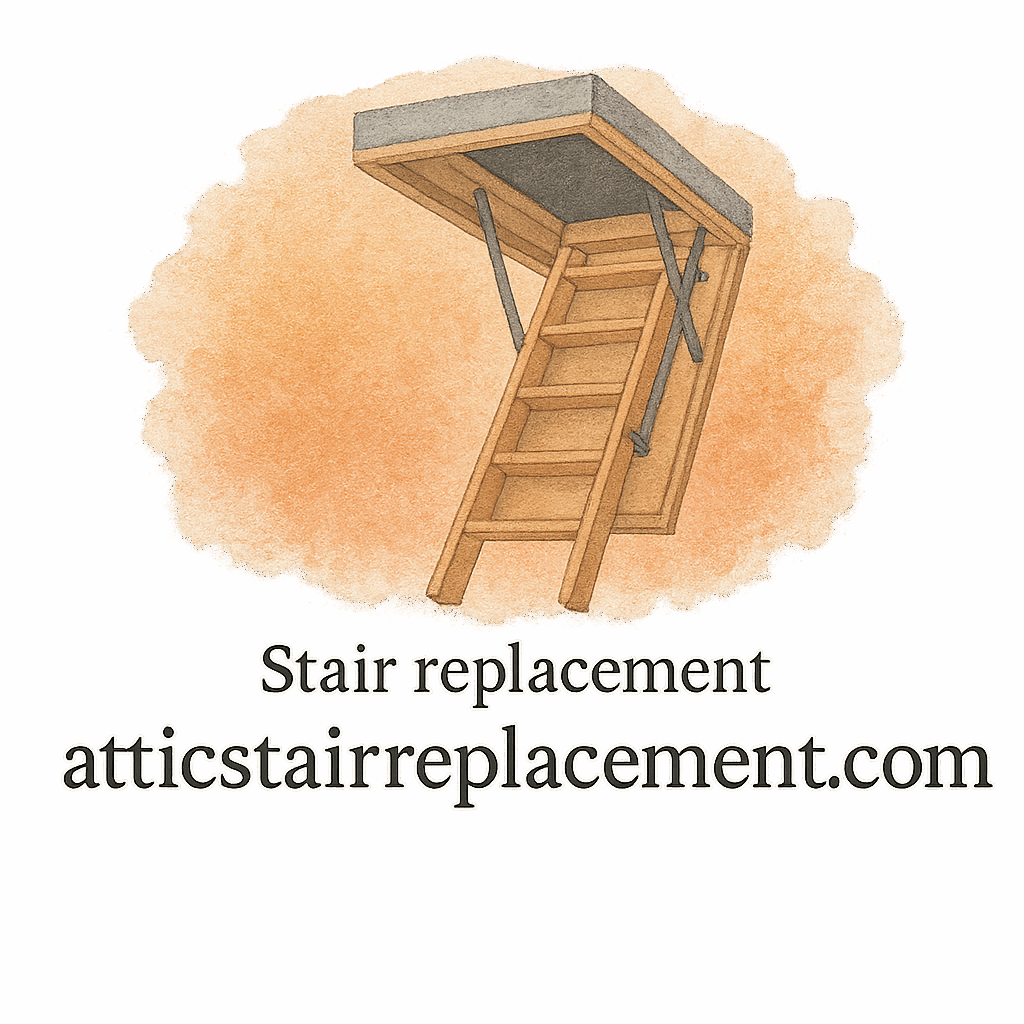
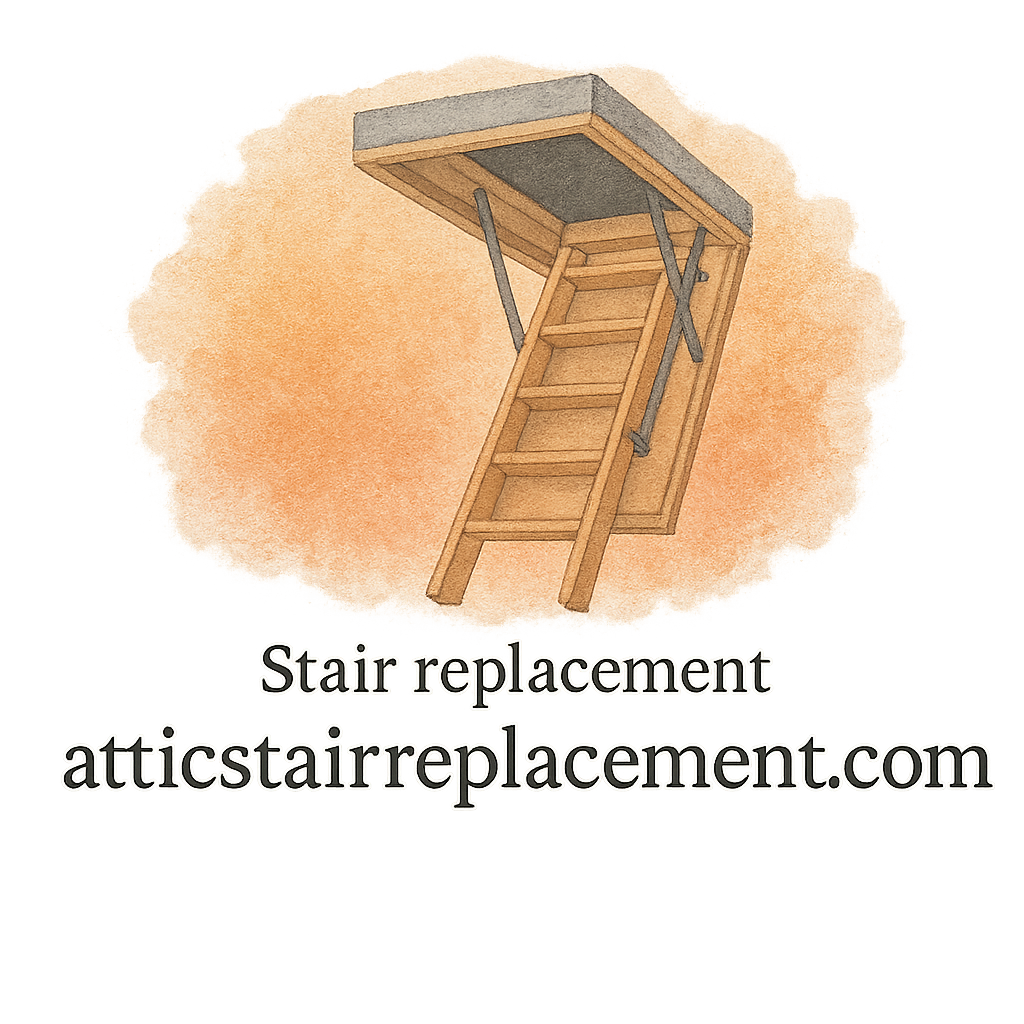
Taking care of your attic stairs isn’t just about convenience—it’s about safety, longevity, and keeping your home in top-notch condition. Whether you’ve just had an attic stair replacement or you’ve been using the same set for years, consistent monthly care will save you headaches, prevent costly repairs, and extend the life of your stairs.
Let’s dive into the 12 monthly tasks for attic stair replacement care that every homeowner should follow.
Why Attic Stair Replacement Care Matters
Think about it: your attic stairs are probably one of the most underappreciated parts of your home. You don’t use them every day, but when you do, you rely on them to safely carry your weight—sometimes with boxes or heavy storage in hand.
Neglecting their care could lead to squeaky steps, stuck hinges, or worse, a dangerous accident. By creating a monthly checklist, you’ll keep your attic access strong, safe, and durable for years.
👉 Related: Check out this expert advice guide for more insights into stair safety.
Understanding Your Attic Stairs
Before we get into the monthly tasks, let’s make sure you fully understand what you’re working with.
Common Types of Attic Stairs
- Folding stairs – The most common, usually wood or aluminum.
- Telescoping stairs – Compact and modern, ideal for tight spaces.
- Scissor-style stairs – Heavy-duty, great for frequent use.
Each type has unique maintenance needs, but the principles remain the same.
Signs of Wear and Tear
- Creaky or loose steps.
- Difficulty pulling down or folding up.
- Visible rust, rot, or cracks.
- Loose hinges or bolts.
Spotting these issues early prevents bigger problems later.
👉 Need help figuring out if you need a replacement? Visit attic stair replacement.
Monthly Care Checklist Overview
Now, let’s break down the 12 monthly tasks you can tackle in less than an hour each month. Consider it like a monthly tune-up for your attic stairs.
Monthly Task #1: Inspect the Ladder Mechanism
Pull down the stairs and check if the folding or sliding action feels smooth. If it’s jerky or stiff, that’s your sign something’s off. Early detection prevents bigger breakdowns.
Monthly Task #2: Check for Loose Screws and Bolts
A wobbly stair can quickly become a dangerous stair. Tighten any loose screws, nuts, or bolts with a wrench or screwdriver. Make this a habit—it takes less than five minutes.
👉 More on DIY installation tips.
Monthly Task #3: Clean the Stair Treads
Dust and dirt don’t just make your stairs look bad—they can also make them slippery. Use a damp cloth or mild cleaner to wipe down the treads. If wood, avoid soaking them.
Monthly Task #4: Lubricate Hinges and Joints
A squeaky hinge is your stair’s way of crying for help. Spray a little silicone-based lubricant on hinges and moving joints. Skip the WD-40—it can attract more dust.

Monthly Task #5: Inspect the Attic Door Seal
Your attic door seal plays a huge role in energy efficiency. If you notice gaps or cracked weatherstripping, replace it to keep your energy bills from skyrocketing.
👉 Energy efficiency tip: Learn more in this home improvement guide.
Monthly Task #6: Test the Weight Capacity
Stand on the stairs with something moderately heavy (like a storage bin). Do they feel stable? If there’s any wobbling, investigate immediately. Safety should always come first.
Monthly Task #7: Look for Wood Rot or Rust
Wood stairs? Check for discoloration, cracks, or soft spots. Metal stairs? Look for rust or corrosion. Address these issues early with sealant or rust-resistant paint.
👉 Check out our product reviews for the best rust-proof and durable stair materials.
Monthly Task #8: Tighten Springs and Hardware
The springs in folding attic stairs take on a lot of stress. Over time, they loosen. Use a wrench to adjust tension, ensuring smooth operation when pulling down.
Monthly Task #9: Check Safety Rails and Handholds
If your attic stair setup includes a handrail or safety bar, make sure it’s solid. Loose rails can cause serious accidents when carrying items up and down.
Monthly Task #10: Clean Dust and Debris Around the Hatch
The attic hatch collects dust faster than you think. Vacuum or wipe around the hatch area to prevent buildup that could interfere with the stair mechanism.
Monthly Task #11: Inspect Insulation Around the Staircase
Improper insulation around attic stairs can lead to drafts. Check that insulation is secure, dry, and mold-free. Replace any damaged insulation immediately.
Monthly Task #12: Document and Track Maintenance
Keep a small notebook or digital log where you track what you’ve inspected each month. This helps you spot patterns—like recurring hinge problems—and makes it easier to know when to call in a contractor.
👉 If problems keep coming back, see when it’s time to hire a contractor.
DIY vs. Professional Care
When DIY is Enough
- Tightening screws.
- Cleaning dust and treads.
- Lubricating joints.
When to Call a Contractor
- Visible structural damage.
- Springs snapping or sagging.
- Replacing entire stair systems.
👉 Browse more DIY vs. expert advice.
Avoiding Common Attic Stair Care Mistakes
- Ignoring small squeaks until they turn into loud creaks.
- Forgetting to check for insulation leaks.
- Using harsh chemicals on wood steps.
Avoid these mistakes, and you’ll prevent costly maintenance down the line.
Budget-Friendly Maintenance Tips
- Buy multipurpose lubricants and cleaners.
- Keep a small attic care toolkit handy.
- Replace parts early instead of waiting until full failure.
👉 Want more budget ideas? Check out our budget-friendly tips.
Long-Term Benefits of Monthly Care
Consistent care gives you:
- A safer stair system.
- Better energy efficiency.
- Longer lifespan for your replacement stairs.
- Fewer unexpected repair costs.
It’s like going to the gym—it only works if you keep at it.
Conclusion
Your attic stairs may not be glamorous, but they’re one of the most important hidden heroes of your home. By following these 12 monthly tasks for attic stair replacement care, you’ll ensure safety, save money, and extend the life of your stairs.
Small, consistent care beats costly repairs every time.
👉 Ready to learn more? Visit attic stair replacement for detailed guides, expert tips, and home improvement resources.
FAQs
1. How often should I lubricate attic stair hinges?
At least once a month. Frequent use may require more often.
2. What’s the best cleaner for wooden attic stairs?
A mild soap and water solution. Avoid harsh chemicals that damage finishes.
3. How do I know if my attic stairs need replacing?
If you see wood rot, cracks, broken springs, or if it feels unsafe to use—replacement is the best option.
4. Can I install attic stairs on my own?
Yes, if you’re handy. Follow a DIY installation guide. For complex jobs, call a pro.
5. Do attic stairs impact home energy efficiency?
Absolutely. Poor insulation around the hatch can cause big energy losses.
6. Are aluminum attic stairs better than wood?
Aluminum is more durable and resistant to moisture, while wood offers a warmer, traditional look.
7. How long does a quality attic stair replacement last?
With monthly care, a well-built attic stair can last 15–20 years.


